I was obsessed with the perfect work area where I was going to build birdhouses, fix broken appliances, tune up the kid’s bikes and do ding repairs on my surfboards. But, the longer we lived in the house, the more and more life got in the way. We have lived in the here for about a year now and my wife finally got sick of having all my tools in a heaping pile on one utility shelf and asked me to do something about it. Honestly, I was getting frustrated with never being able to find the tool I needed to complete even one “honey do” item on the list in the 2 hour window I had for house work on Saturdays.
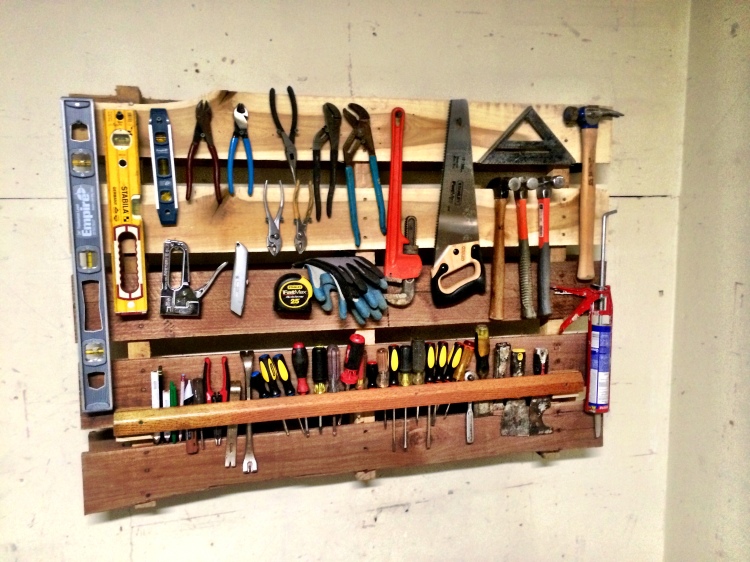
I realizing that something had to be done about the situation and that my grandfather’s perfect handy-man nook may have to wait a little bit longer. One Saturday as I started to clean out the back of my truck thinking about how to get all the crap in my garage organized, I pulled out a random used cargo pallet I had left over from a tile delivery earlier that day. Just as I was dragging it to the curb for the next day’s trash pickup, my wife chimed in. “Just nail that to the wall and get it over with already.” So I did and this is how it turned out….
This literally tool me 15 minutes to do:
1. Find old pallet
2. Find studs on wall
3. Throw a 2 1/2″ deck screw (or any screws you have laying around) in each of the corners of the backside slats on the pallet, through to the studs.
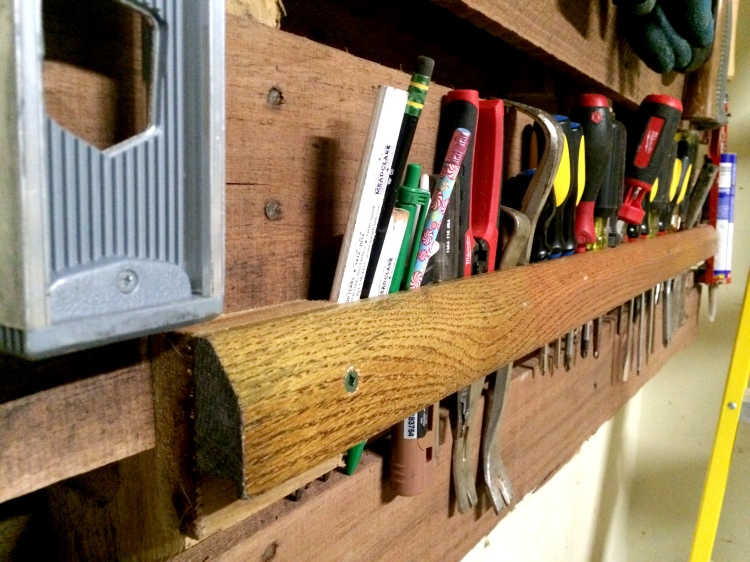
4. Using an old chunk of trim or anything else you might have leftover from a past project, nail a strip to the lower part of the pallet to slide in your screwdrivers, etc.
5. Using those same screws you used to attach the thing to the wall, line out where you are going to hang your tools and screw them in accordingly.
6. Crack a beer and enjoy your weekend ’cause your chores are done 🙂

